Harness Pt. 2- Conversion Harness, and Fuel System
Now that the main engine loom was routed and concerns in the previous post regarding length was not an issue, I had to tackle the rest of the wiring, which was pretty simple. I bought the conversion harness from JDMYard for about $300. It was a cheap buy, all things considered. The item is a K-Tuned copy.
Sidenote: the guy I dealt with (Arab bloke, not Master Yonas) was convinced that similar to a Hybrid Racing copy, though a basic google would say otherwise. You’d think if one stocks the product then you’d know the specs but this guy was a character (lmao). He also claimed did a dashboard swap on either a EK or EG and also a K-Swap so I really don’t know how he researched his shit for that when guy couldn’t sling basic products. Real pain in the arse to deal with over the phone but he was alright in person. Who knows, maybe it was a bad day but it was annoying enough that here I am, recording it in the annuls of git history.
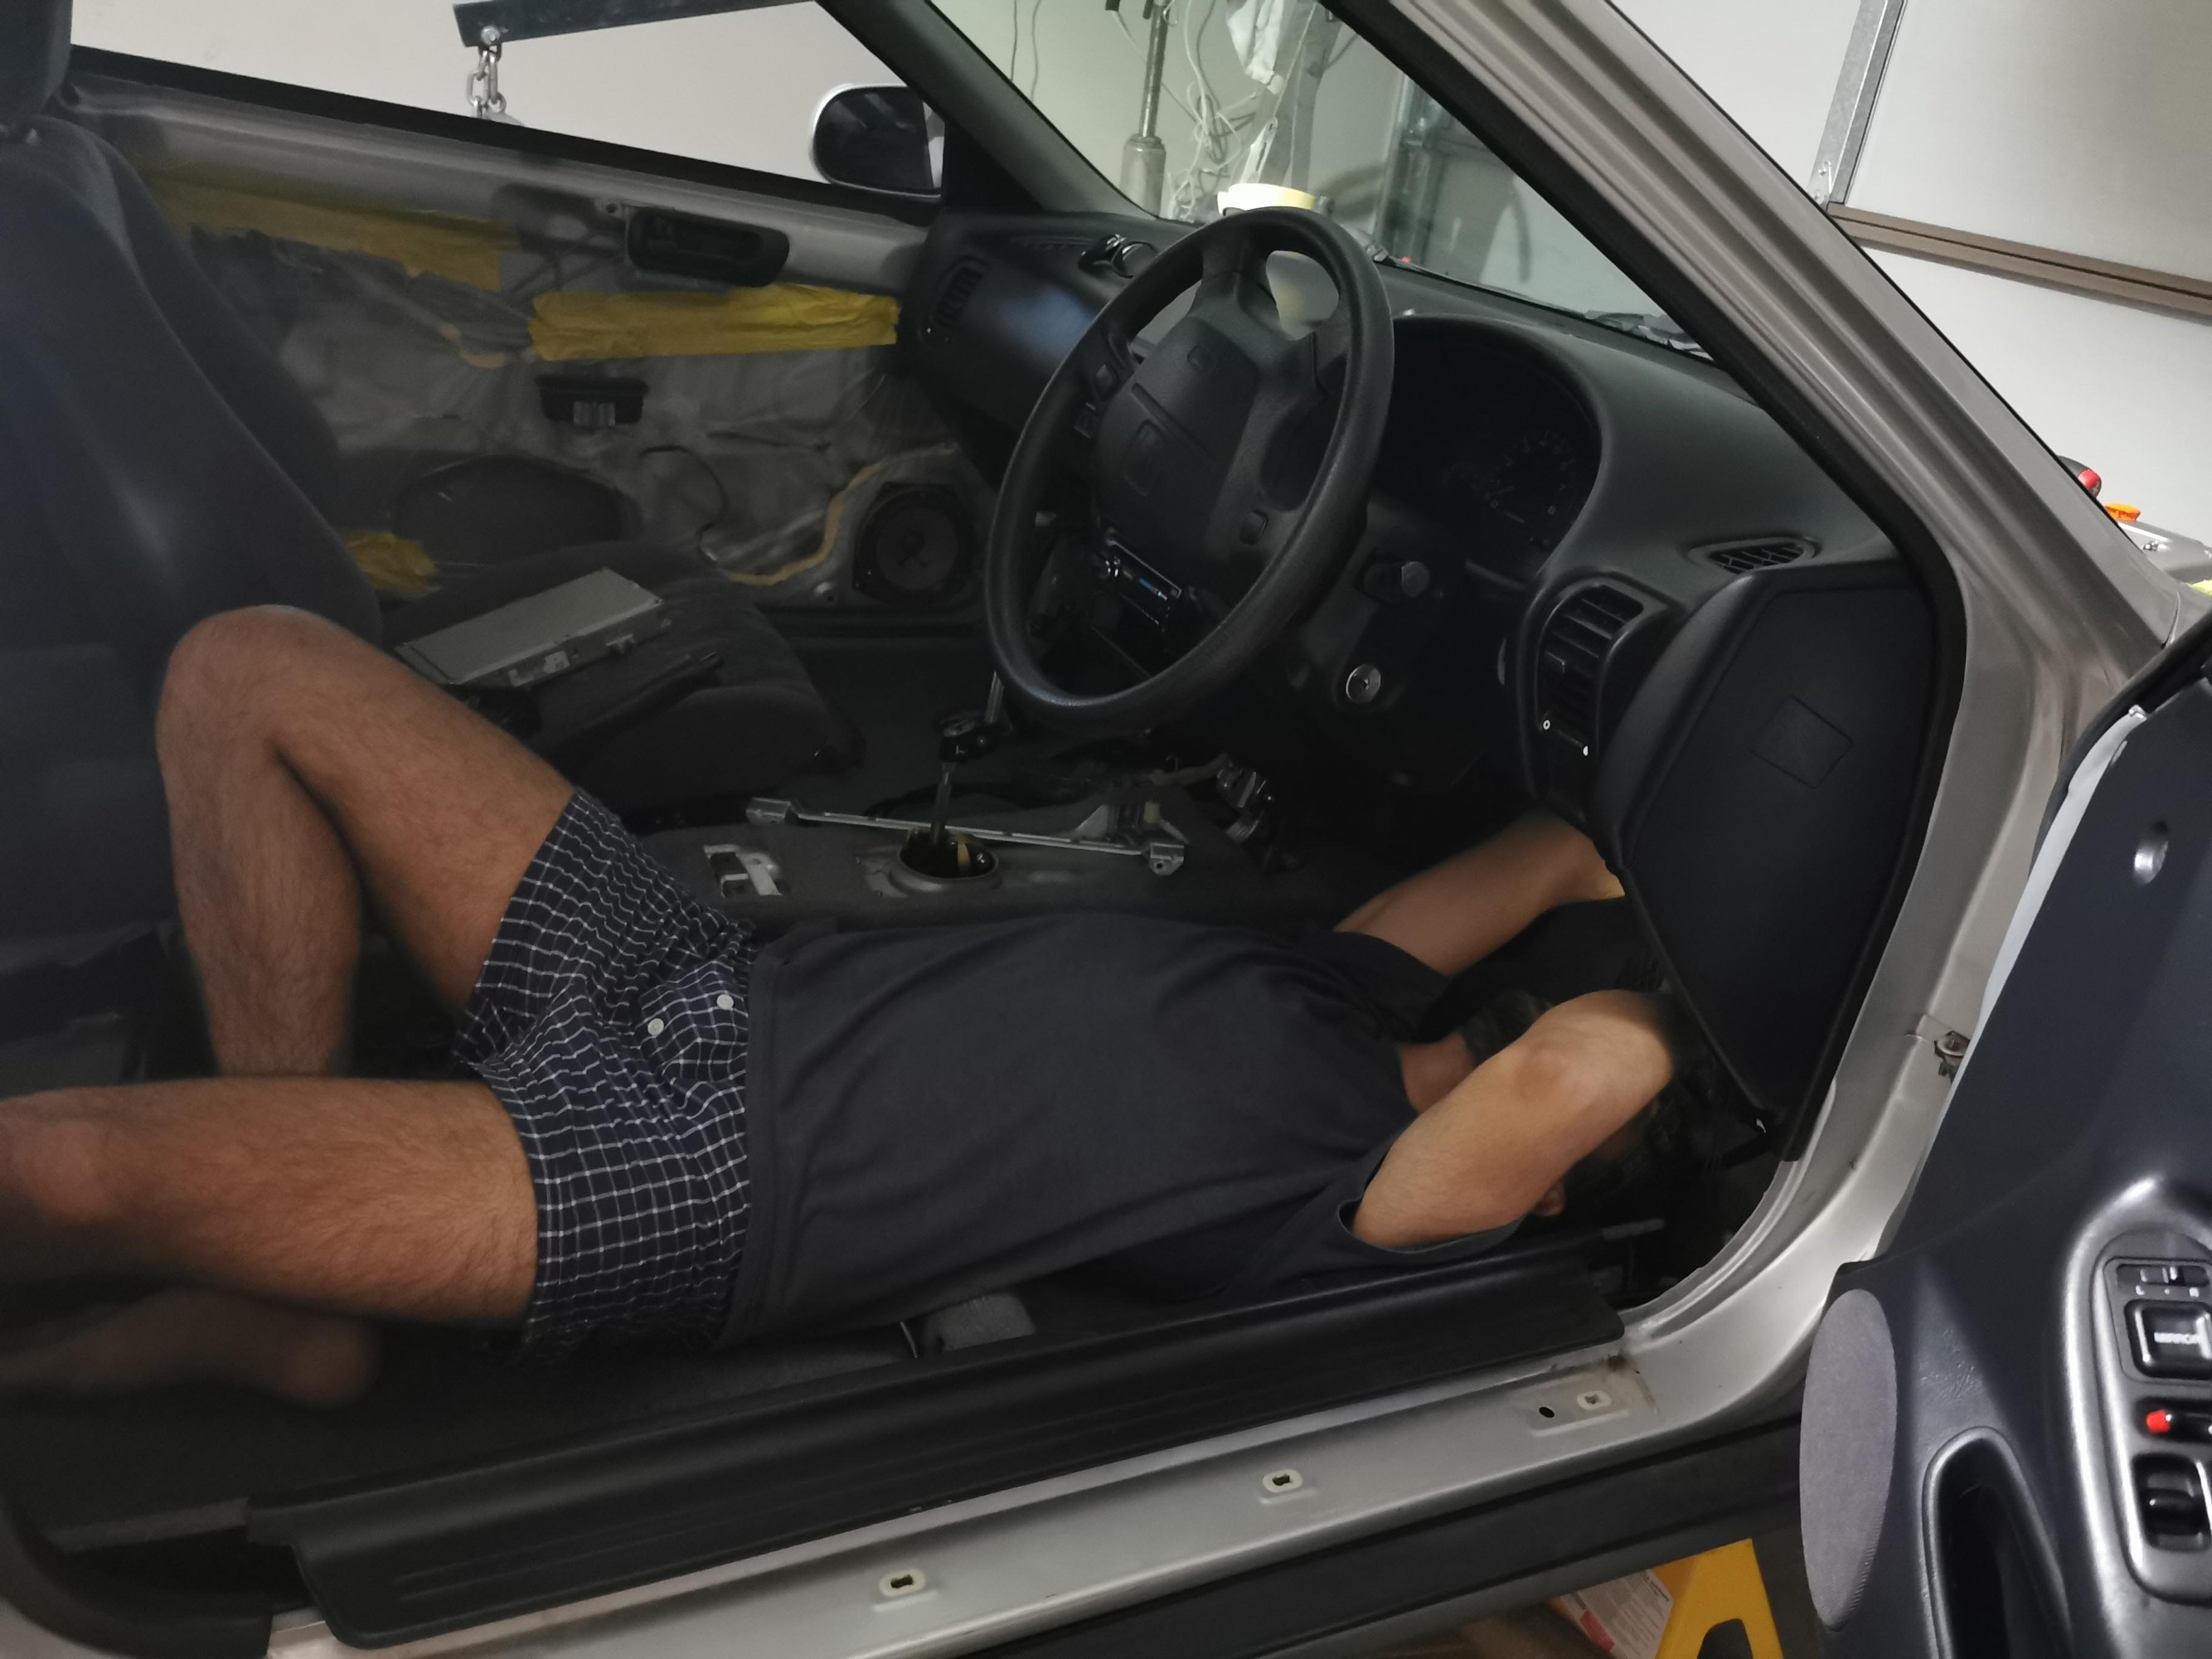
Back on topic. It was a pretty simple install, you plug stuff into the harness, into the dashboard connectors and splice in about two wires and bobs ya uncle - use the KTUNEd instructions from their website as a reference. If I were to do it again I’d spend the extra hundy and just cop a Hybrid Racing item from SpeedScience because the install process on those is easier, you don’t have to bother pulling shit through the firewall on the drivers side - for that, you can cut into the grommet for the B series wiring loom near the brake booster - simplest way. I’d recommend taking the drivers seat out because it gives you more space to play with.
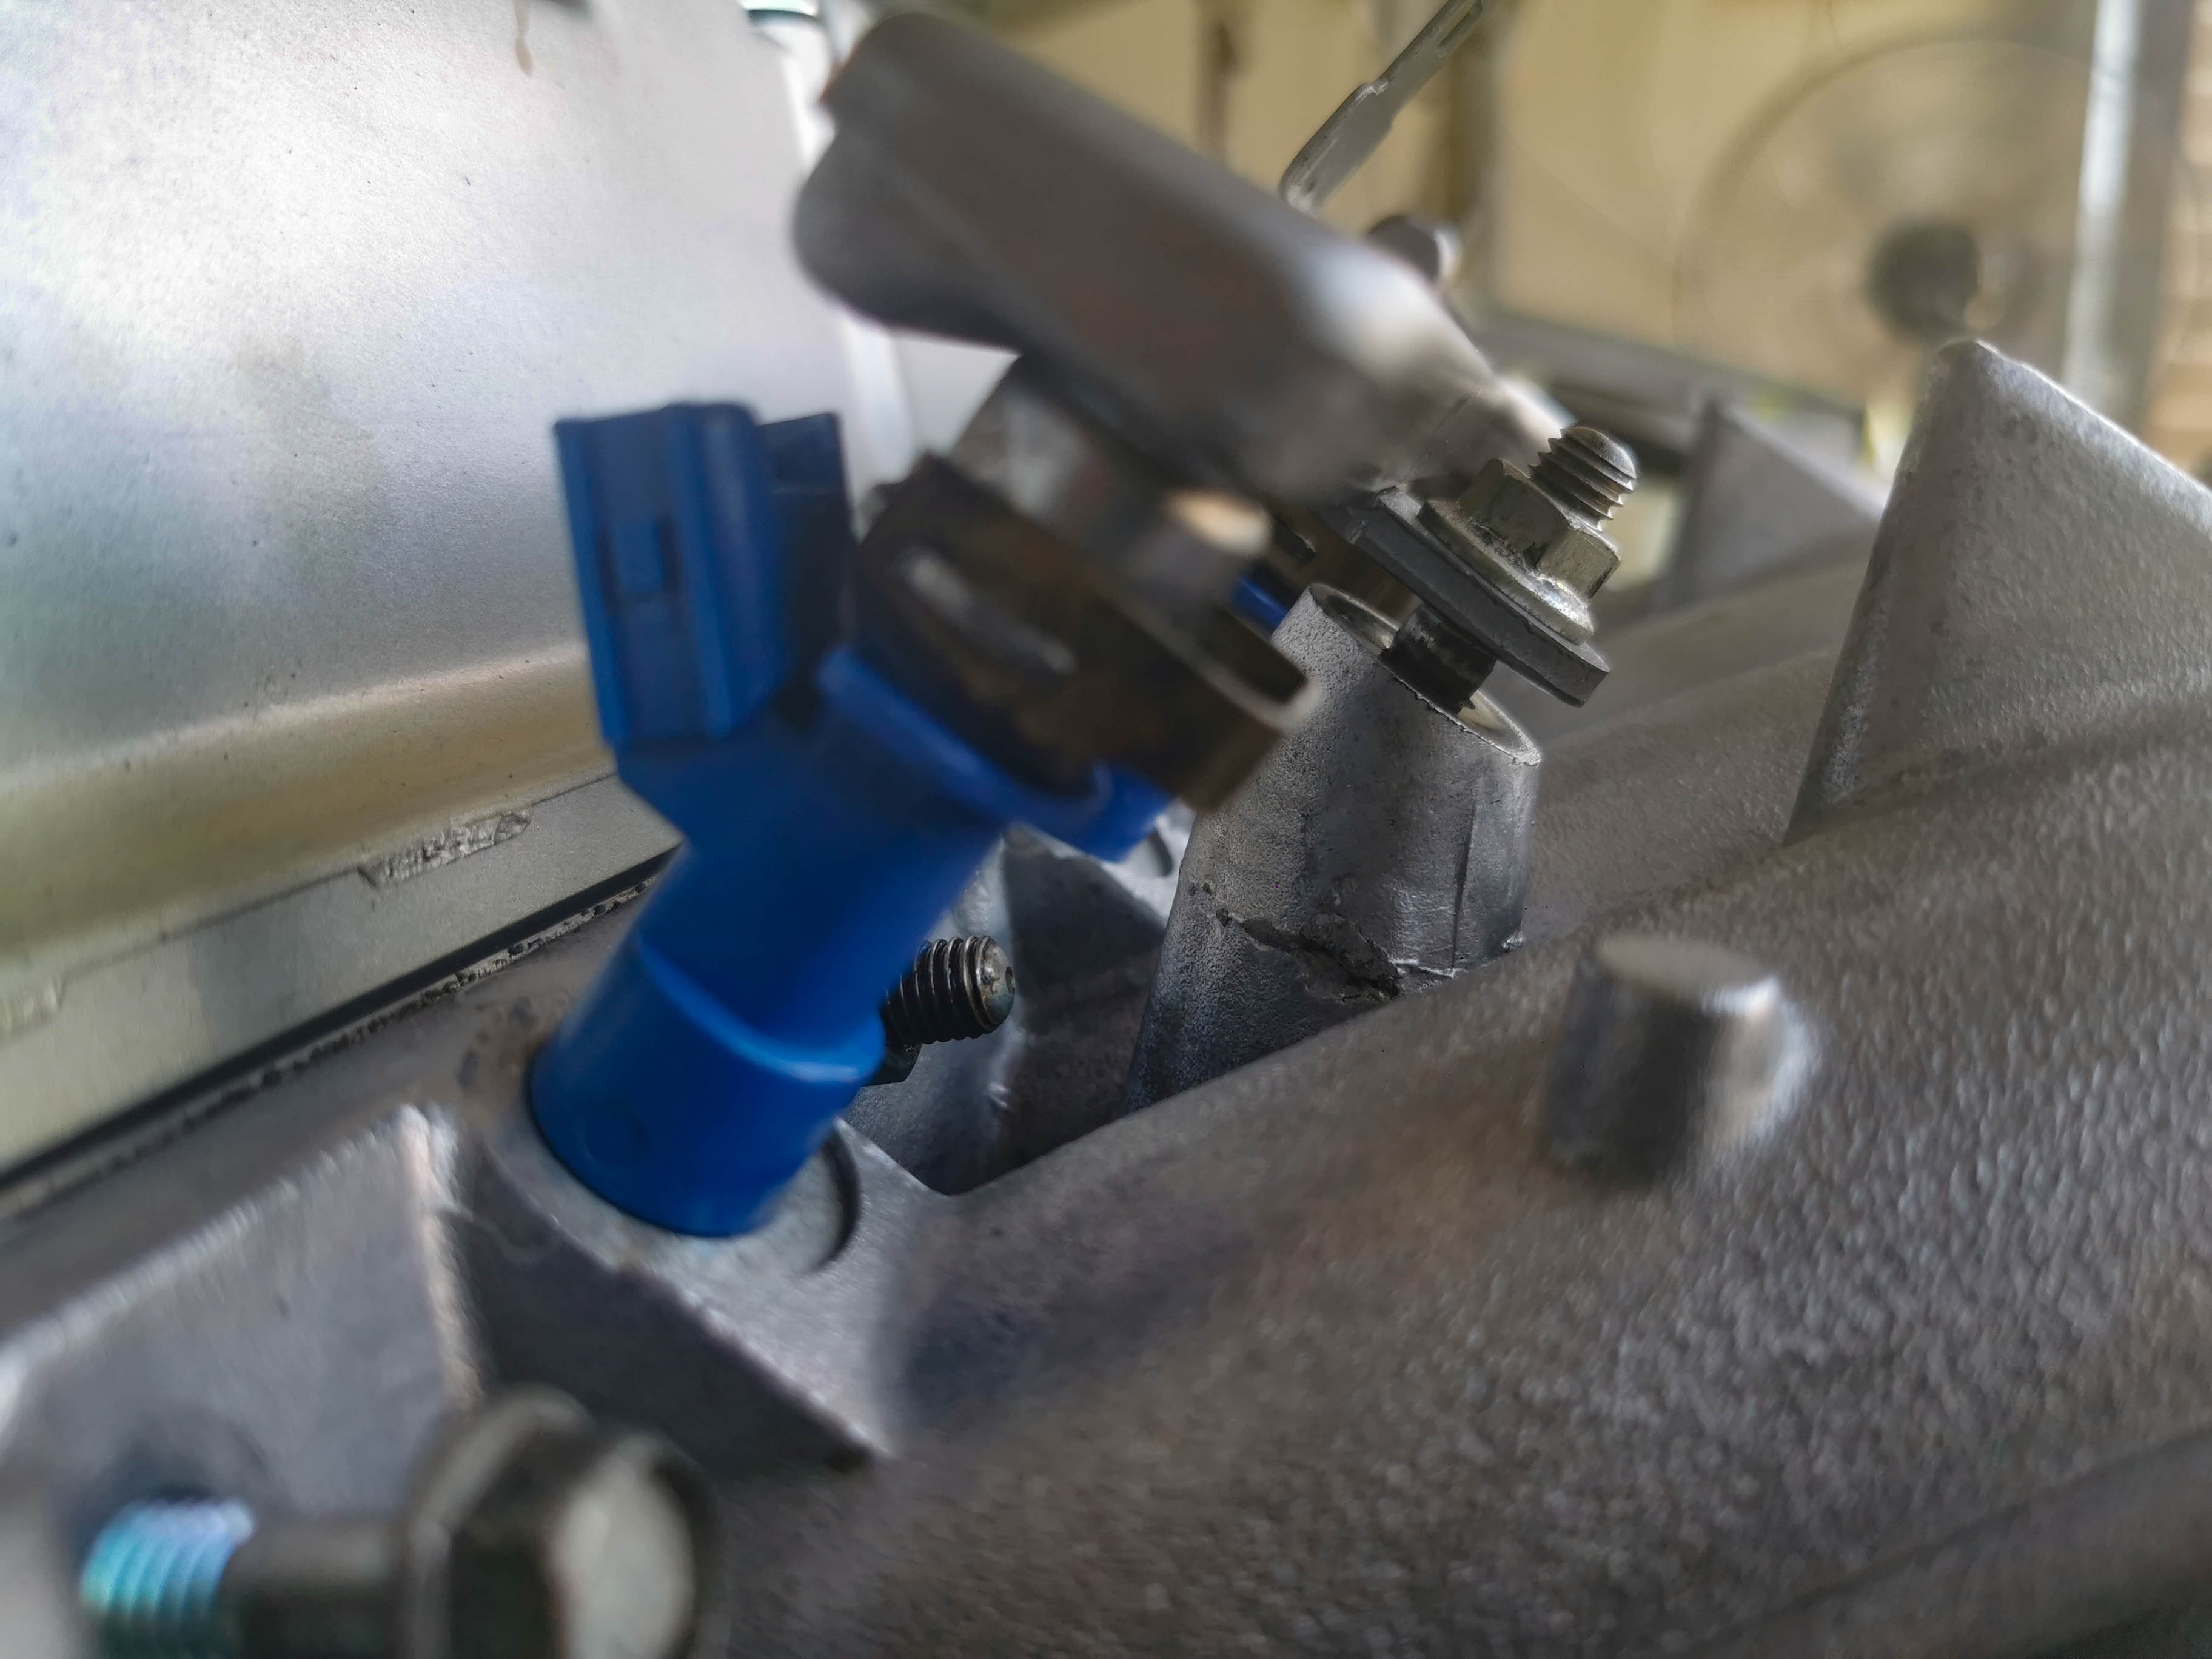
For the other one or two wires that route into the engine bay from the passenger side, you can utilise the drain tube from the Heater/AC unit under the dashboard. Its a soft tube, so you can compress the pipe/tube and pull them through. One definitely will go to the Coolant Temperature sensor (this is common on all conversion harnesses - its for the dash temperature sensor to work, ECU reads off the ECT). My wiring loom also came without injector plugs but this was good because I had RDX injectors (flow tested) and had the plugs for those. So I just popped them on as required, and used the TESA tape to clean it up, plug below. This is not required for the Kswap but they were spares and having injector headroom for a K24 is good, and I needed some injectors so it was worth it in my case.
Once that was done, it was onto dry-fitting the Intake manifold (I used a DC5R intake manifold). For the Acoord Euro fuel rail to fit, I had to clearance the LHS hole on the fuel rail bolt hole using a big chungus drill bit I borrowed from my neighbour - or else they wouldn’t align - members on k20a.org also had similar problems - so don’t think your rail is warped like I did. For the injectors, I popped them into the manifold using some Permatex di-electric grease (internet advised against vaseline as apparently it could eat away at the rubber o-rings due to it being a petrochemical). Others said otherwise but I err’d on the side of caution.
Notice the space - that seems natural and I would not recommend tightening the rails down any further - or else you will crack the injectors. I just stacked washers I had lying around in that gap and it seemed to work fine. For the rest of the system I got all my connections from Motorsport Connections in Blacktown (MSCN). Their products are pricey but quality, I wouldn’t cheap out on fuel stuff. If you do go there though, do your research because if you get the older guy he will chew you out, one of the younger blokes (Jayden I think?) is a bit of a Honda nerd and he hooked me up with the right parts.
Fuel System
I used;
- Speedflow fittings - maybe a $120 all up for 6 connectors, all in 1/8NPT for FPR side, rest in 6AN (barbed) as it fits the tubes/pipes well
- Fuel safe tubing - cost about 20 per metre, I got two just in case, you only need a metre of the stuff
- Turbosmart FPR800 Fuel Pressure Regulator - copped it for about $180, better than KTuned and Hybrid Racing options at its price point
- Stock fuel filter - ideally next time I’d get an inline fuel filter as the headers are somewhat close and I’d prefer keeping fuel away from them but it will function for NA street-use just fine based on research
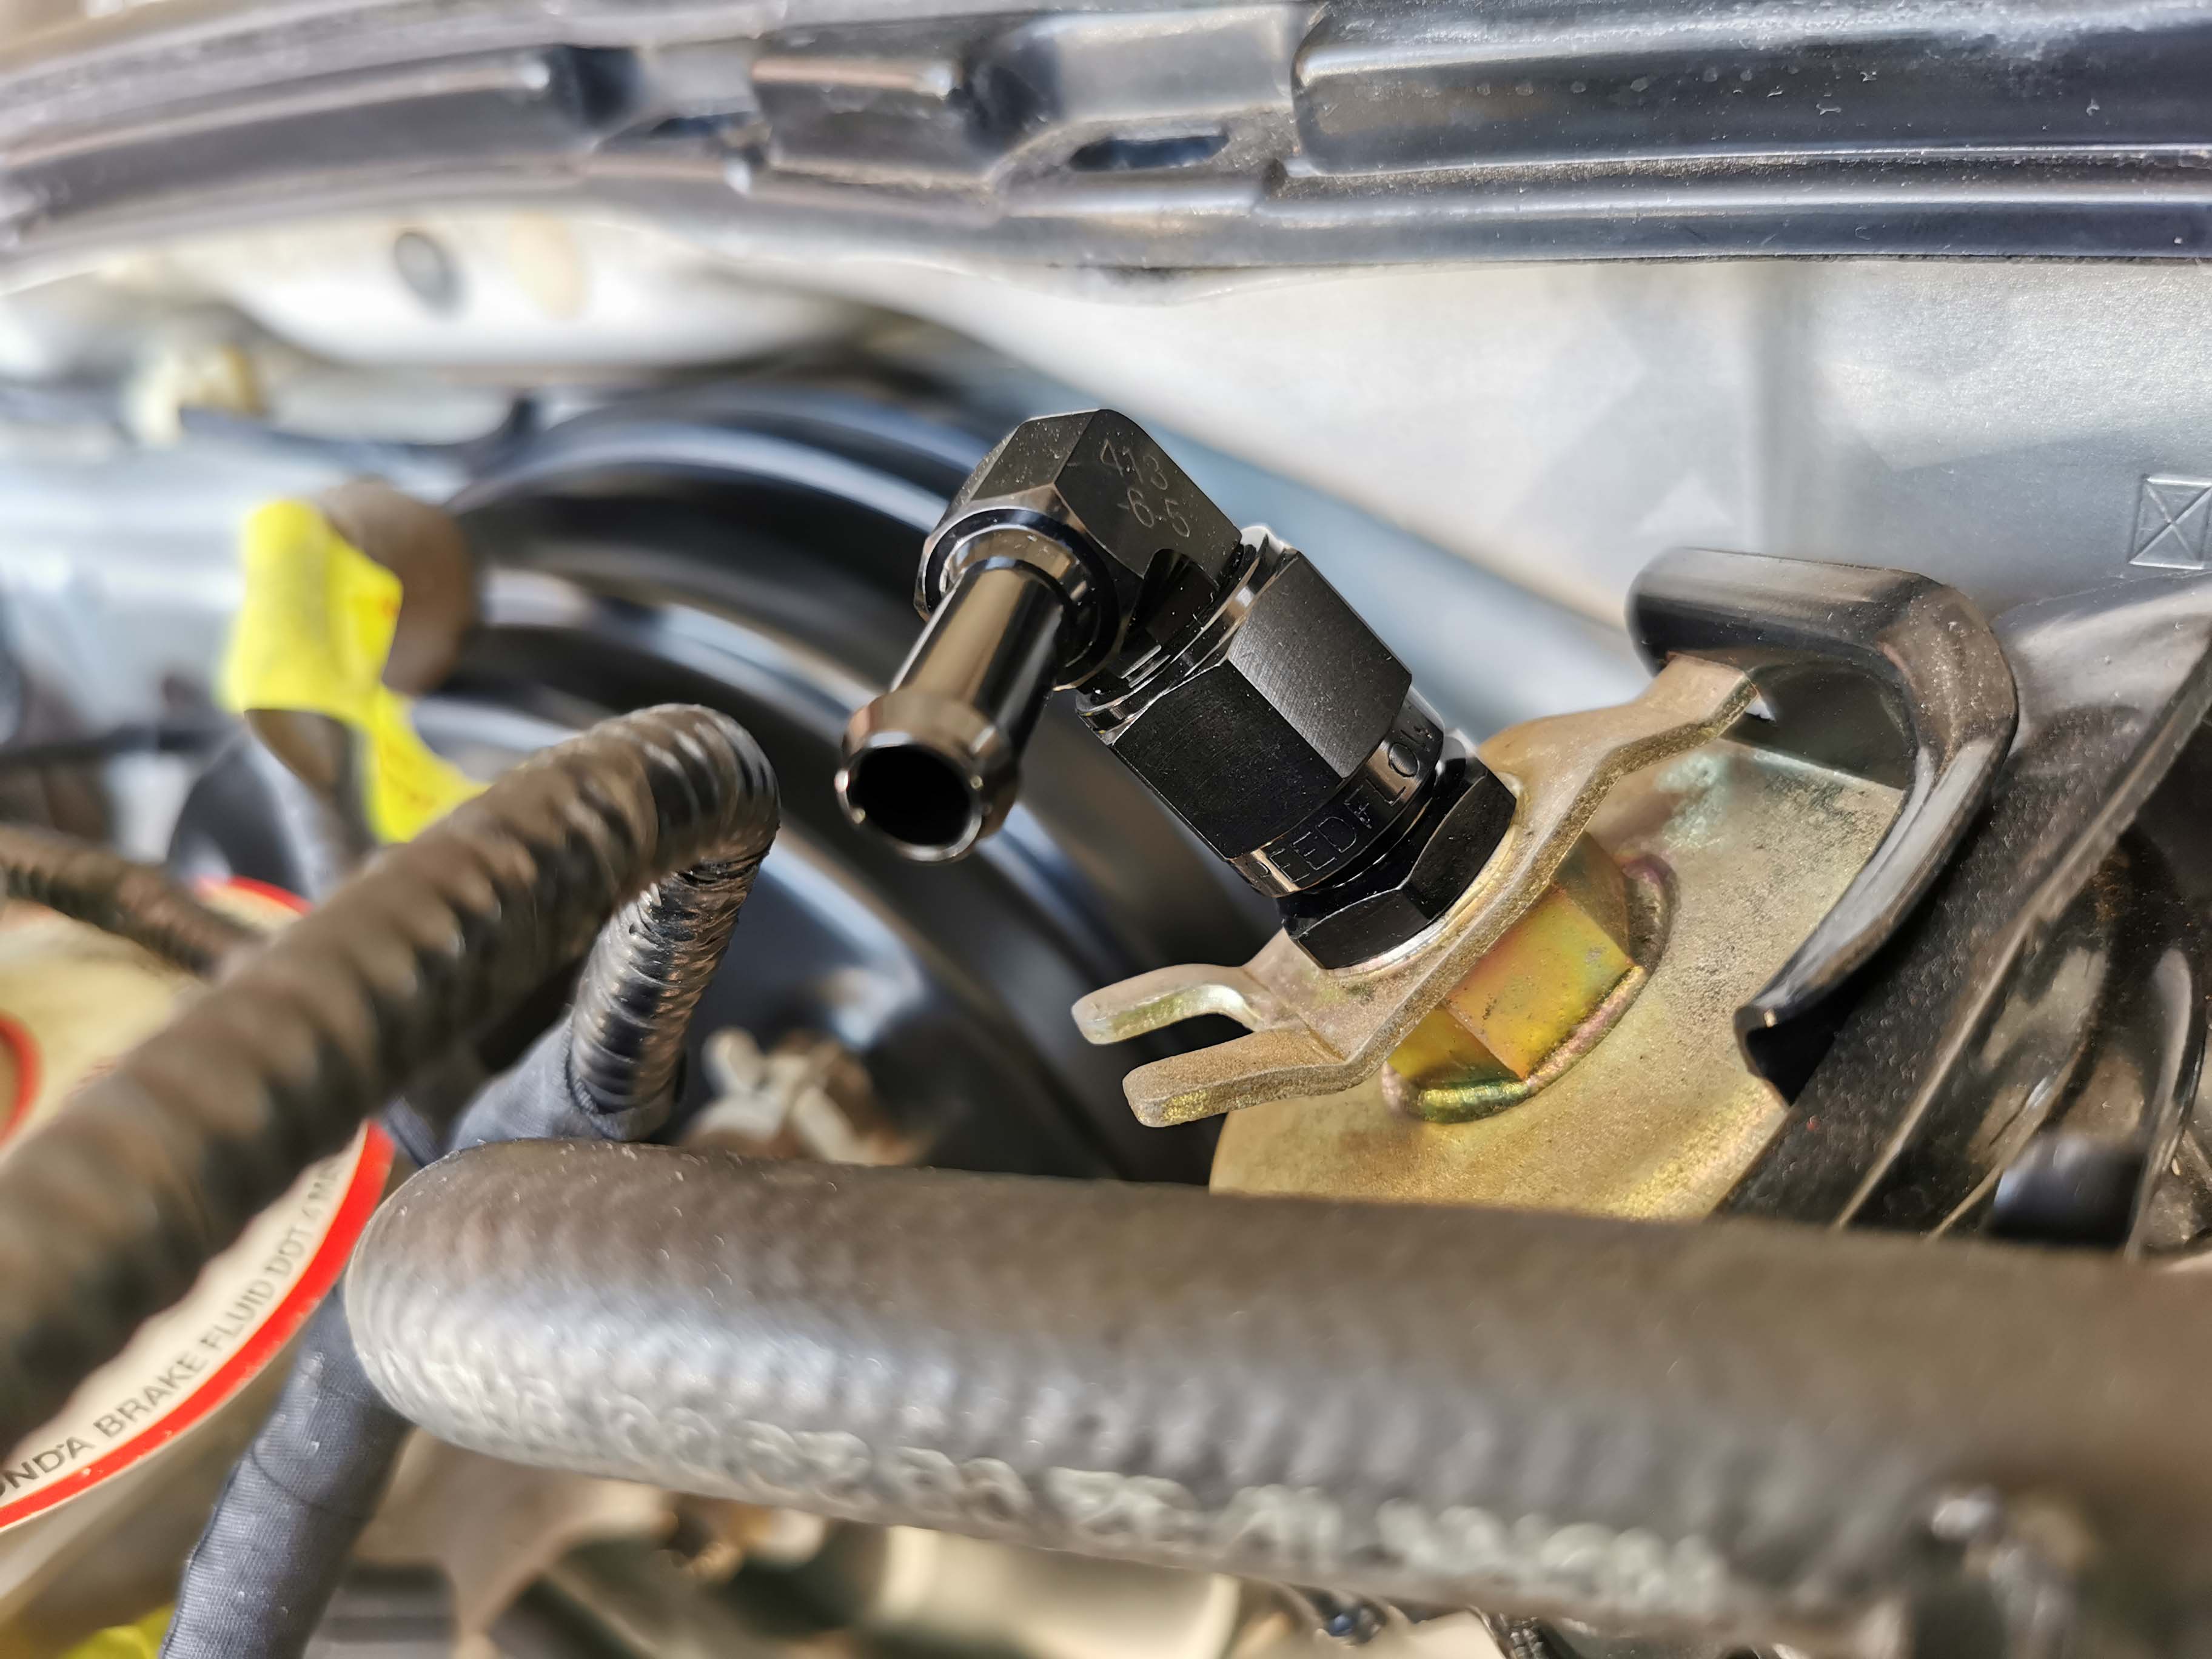
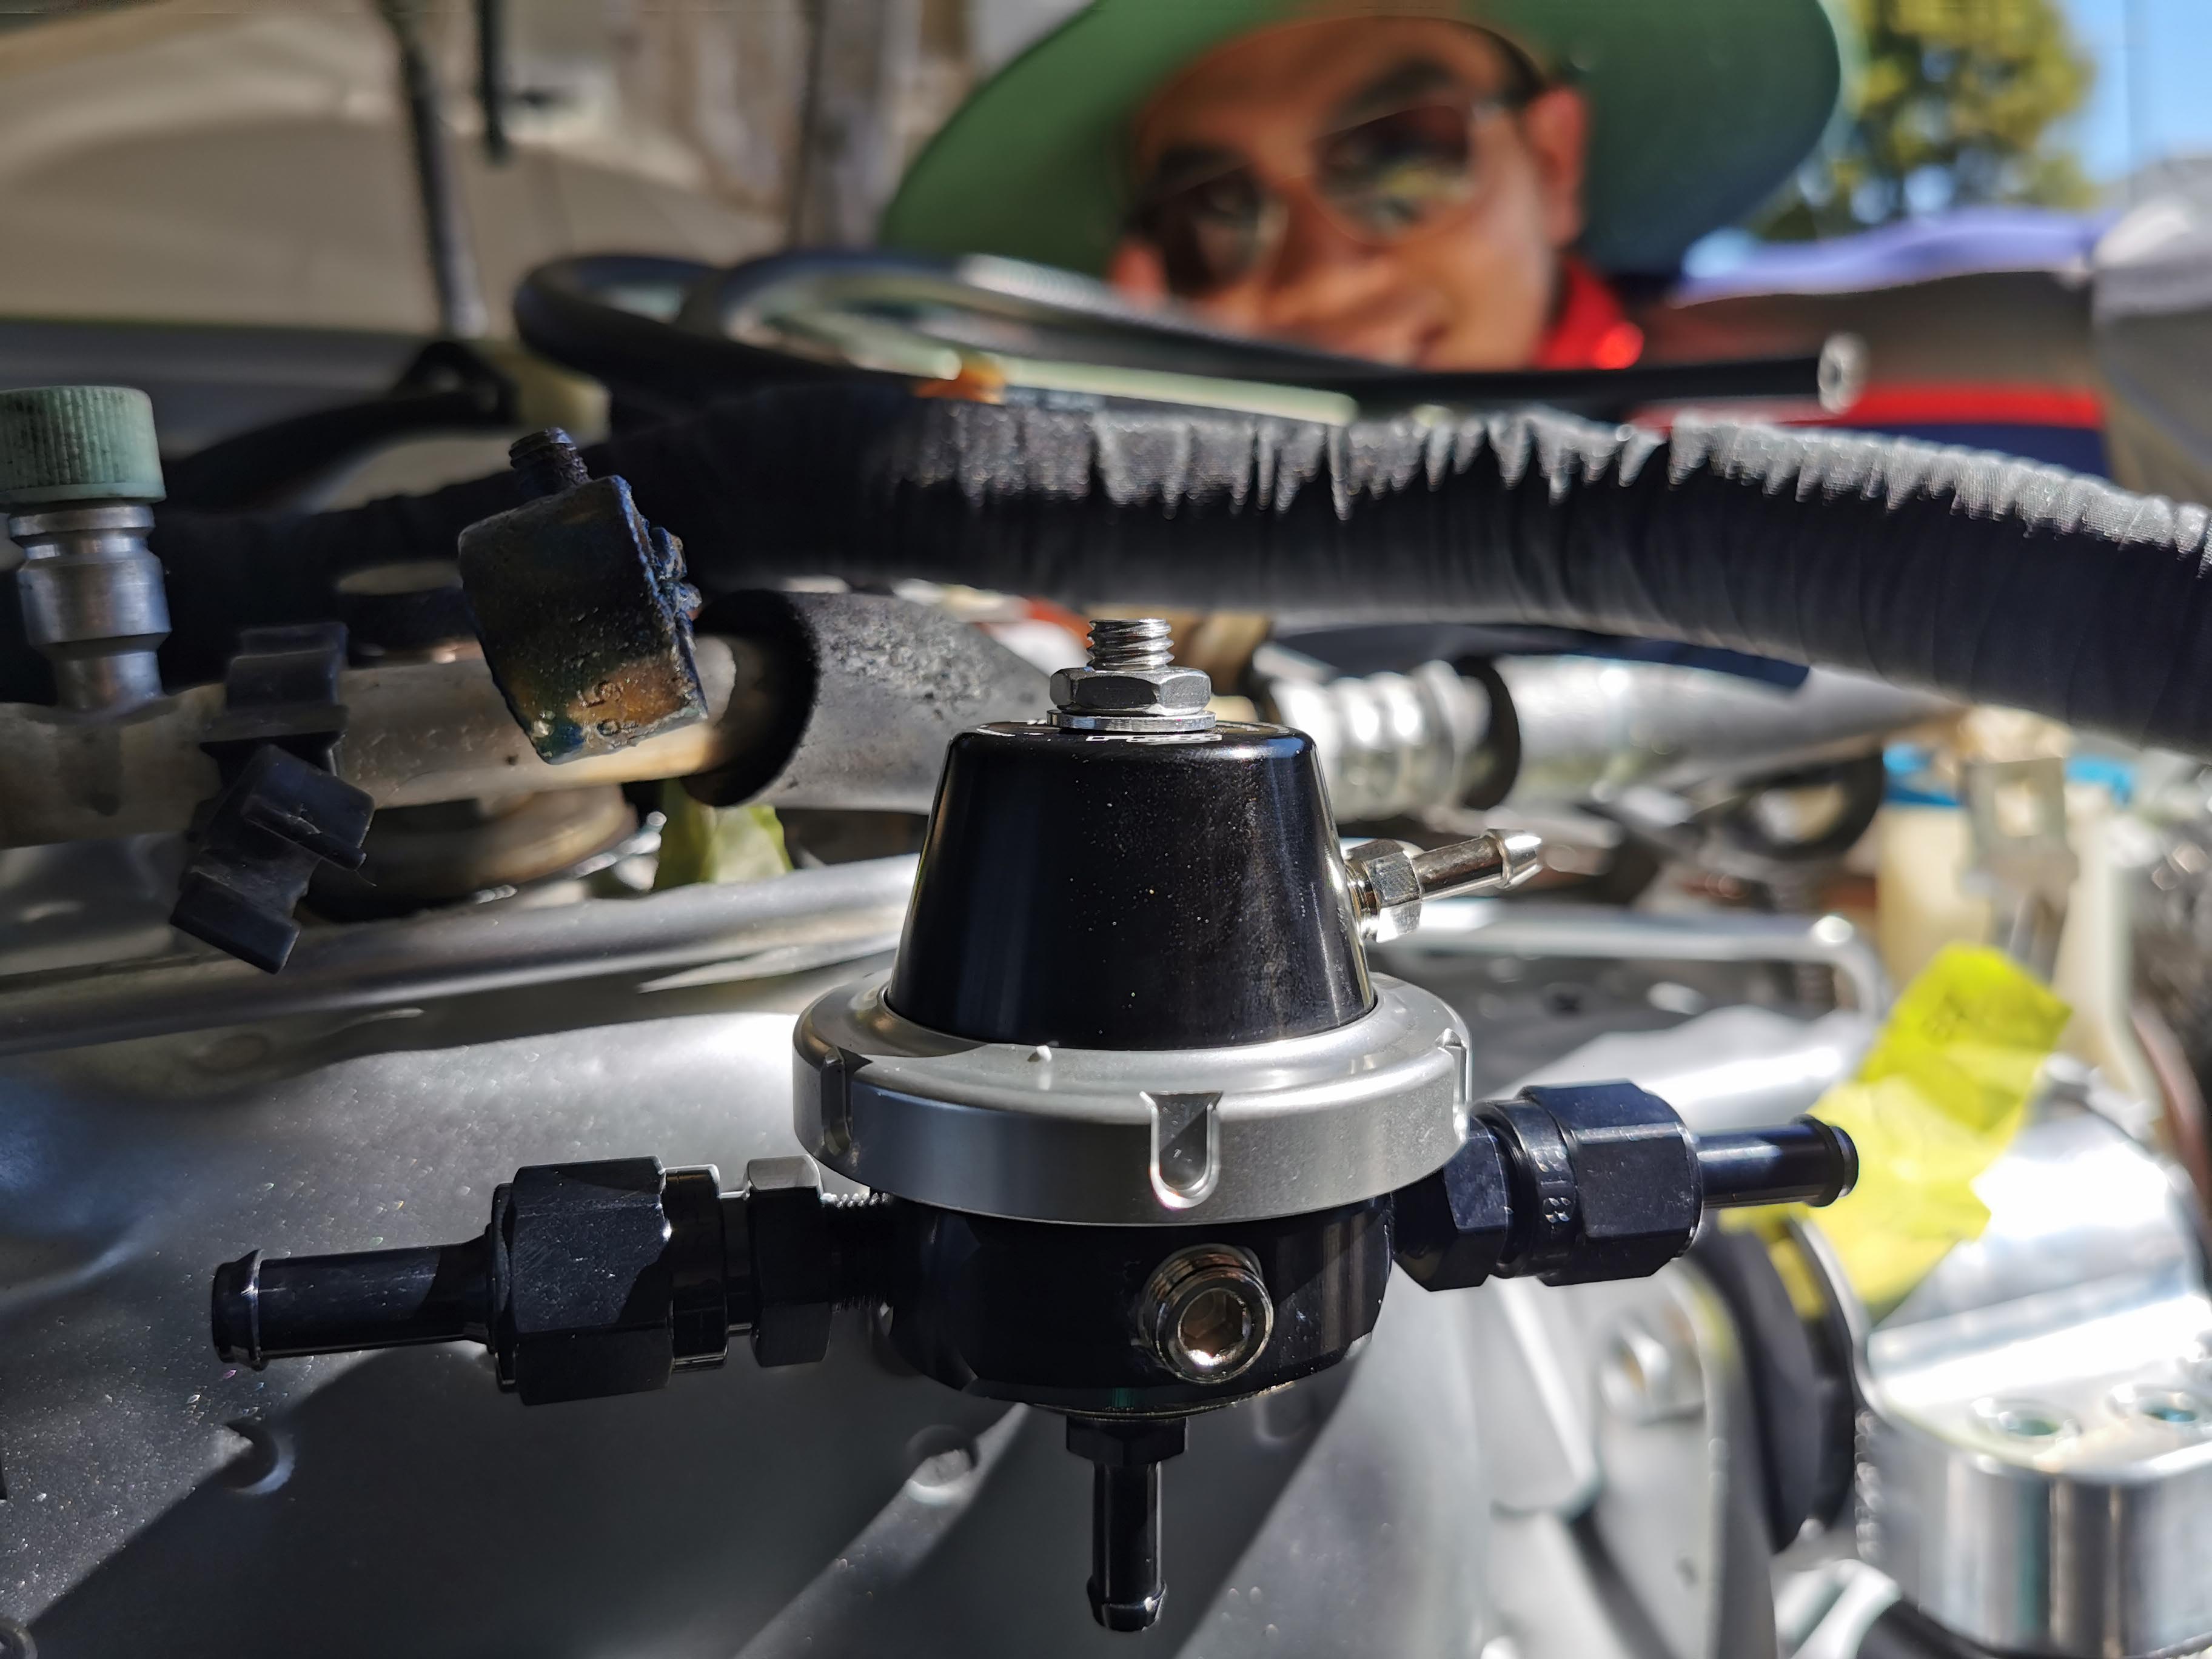
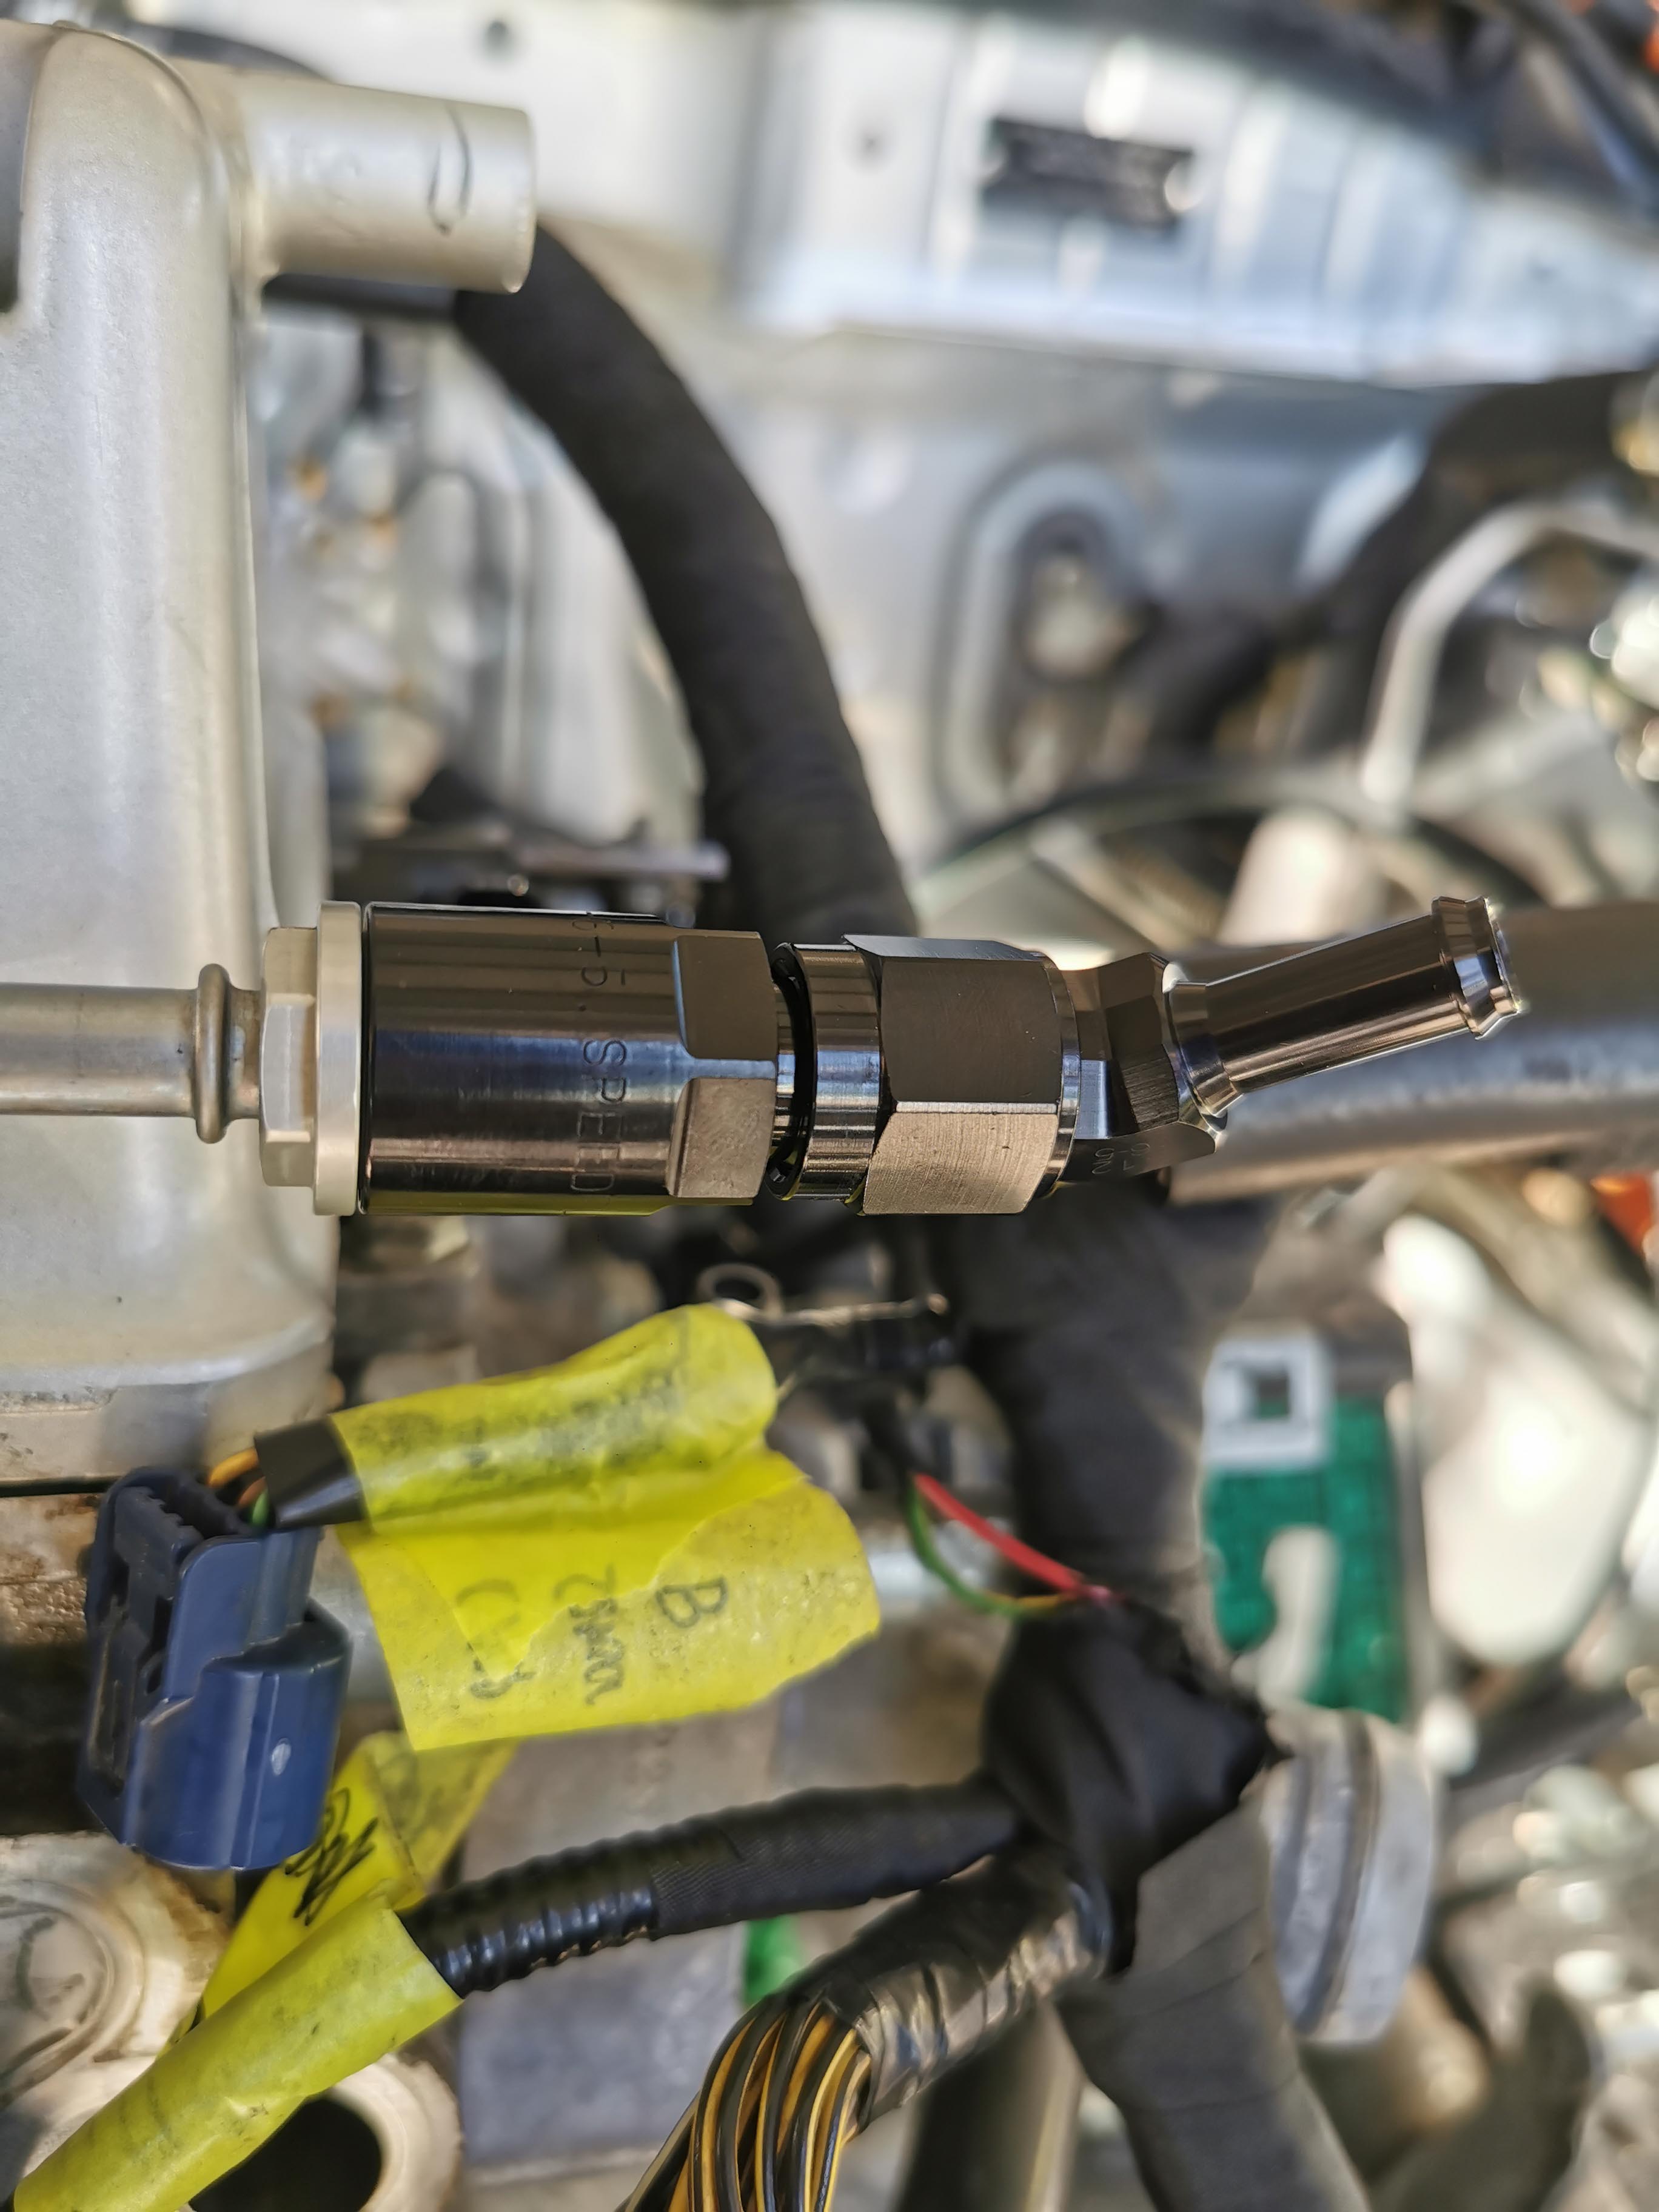
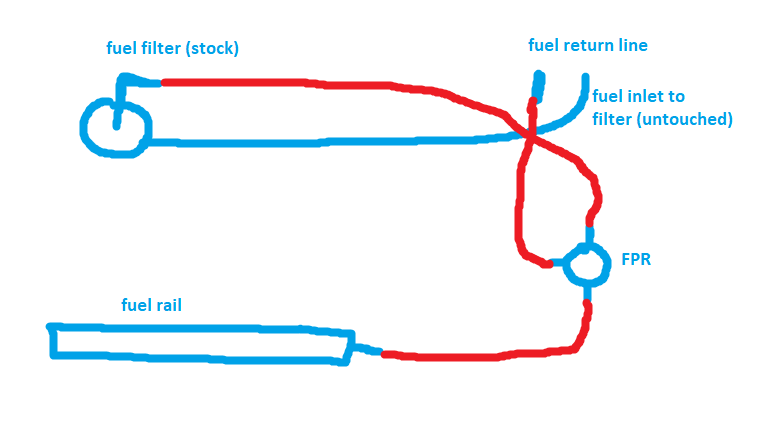
Not pictured, but the provided bracket in the FPR can be mounted on a free hole on the shock tower - it fits pretty well. Then you can run your tubing from the fuel filter outlet to the FPR, the return on the bottom back to the fuel return line, and then the outlet from the FPR to the rail. MSCN has the exact part that makes adapting it to the rail a simple job so make sure you get that bit as pictured above. Also, I did use C-clamps and hose-clamps on every single fitting. Ideally if I were to do this again, yeah, I’d get an inline fuel filter and probably use a flared connection on the fuel inlet coming from the tank (less heat, cleaner plumbing) - but the fitting already has a barb so I just clamped it down and did a tug test. Fuel system took the better part of an hour all up.
For reference, I have a basic paint picture on how the complete system will look - left as an exercise for the reader
On that note - I do see some people using aftermarket fuel rails with both an inlet and an outlet (as the B series is a return system whereas the DC5R is a returnless system) - people advise against having the FPR before the rail (so that all injectors get even fuel pressure) but I’d think this is wholly dependant on how clean your filter is, and if there are any choke points in the system. It worked fine for me and also I’m only NA, so its not a big thing, and the dyno/dailying will tell if the pressure of the system passes the lead foot test over time.