Flywheel, Clutch, Gearbox
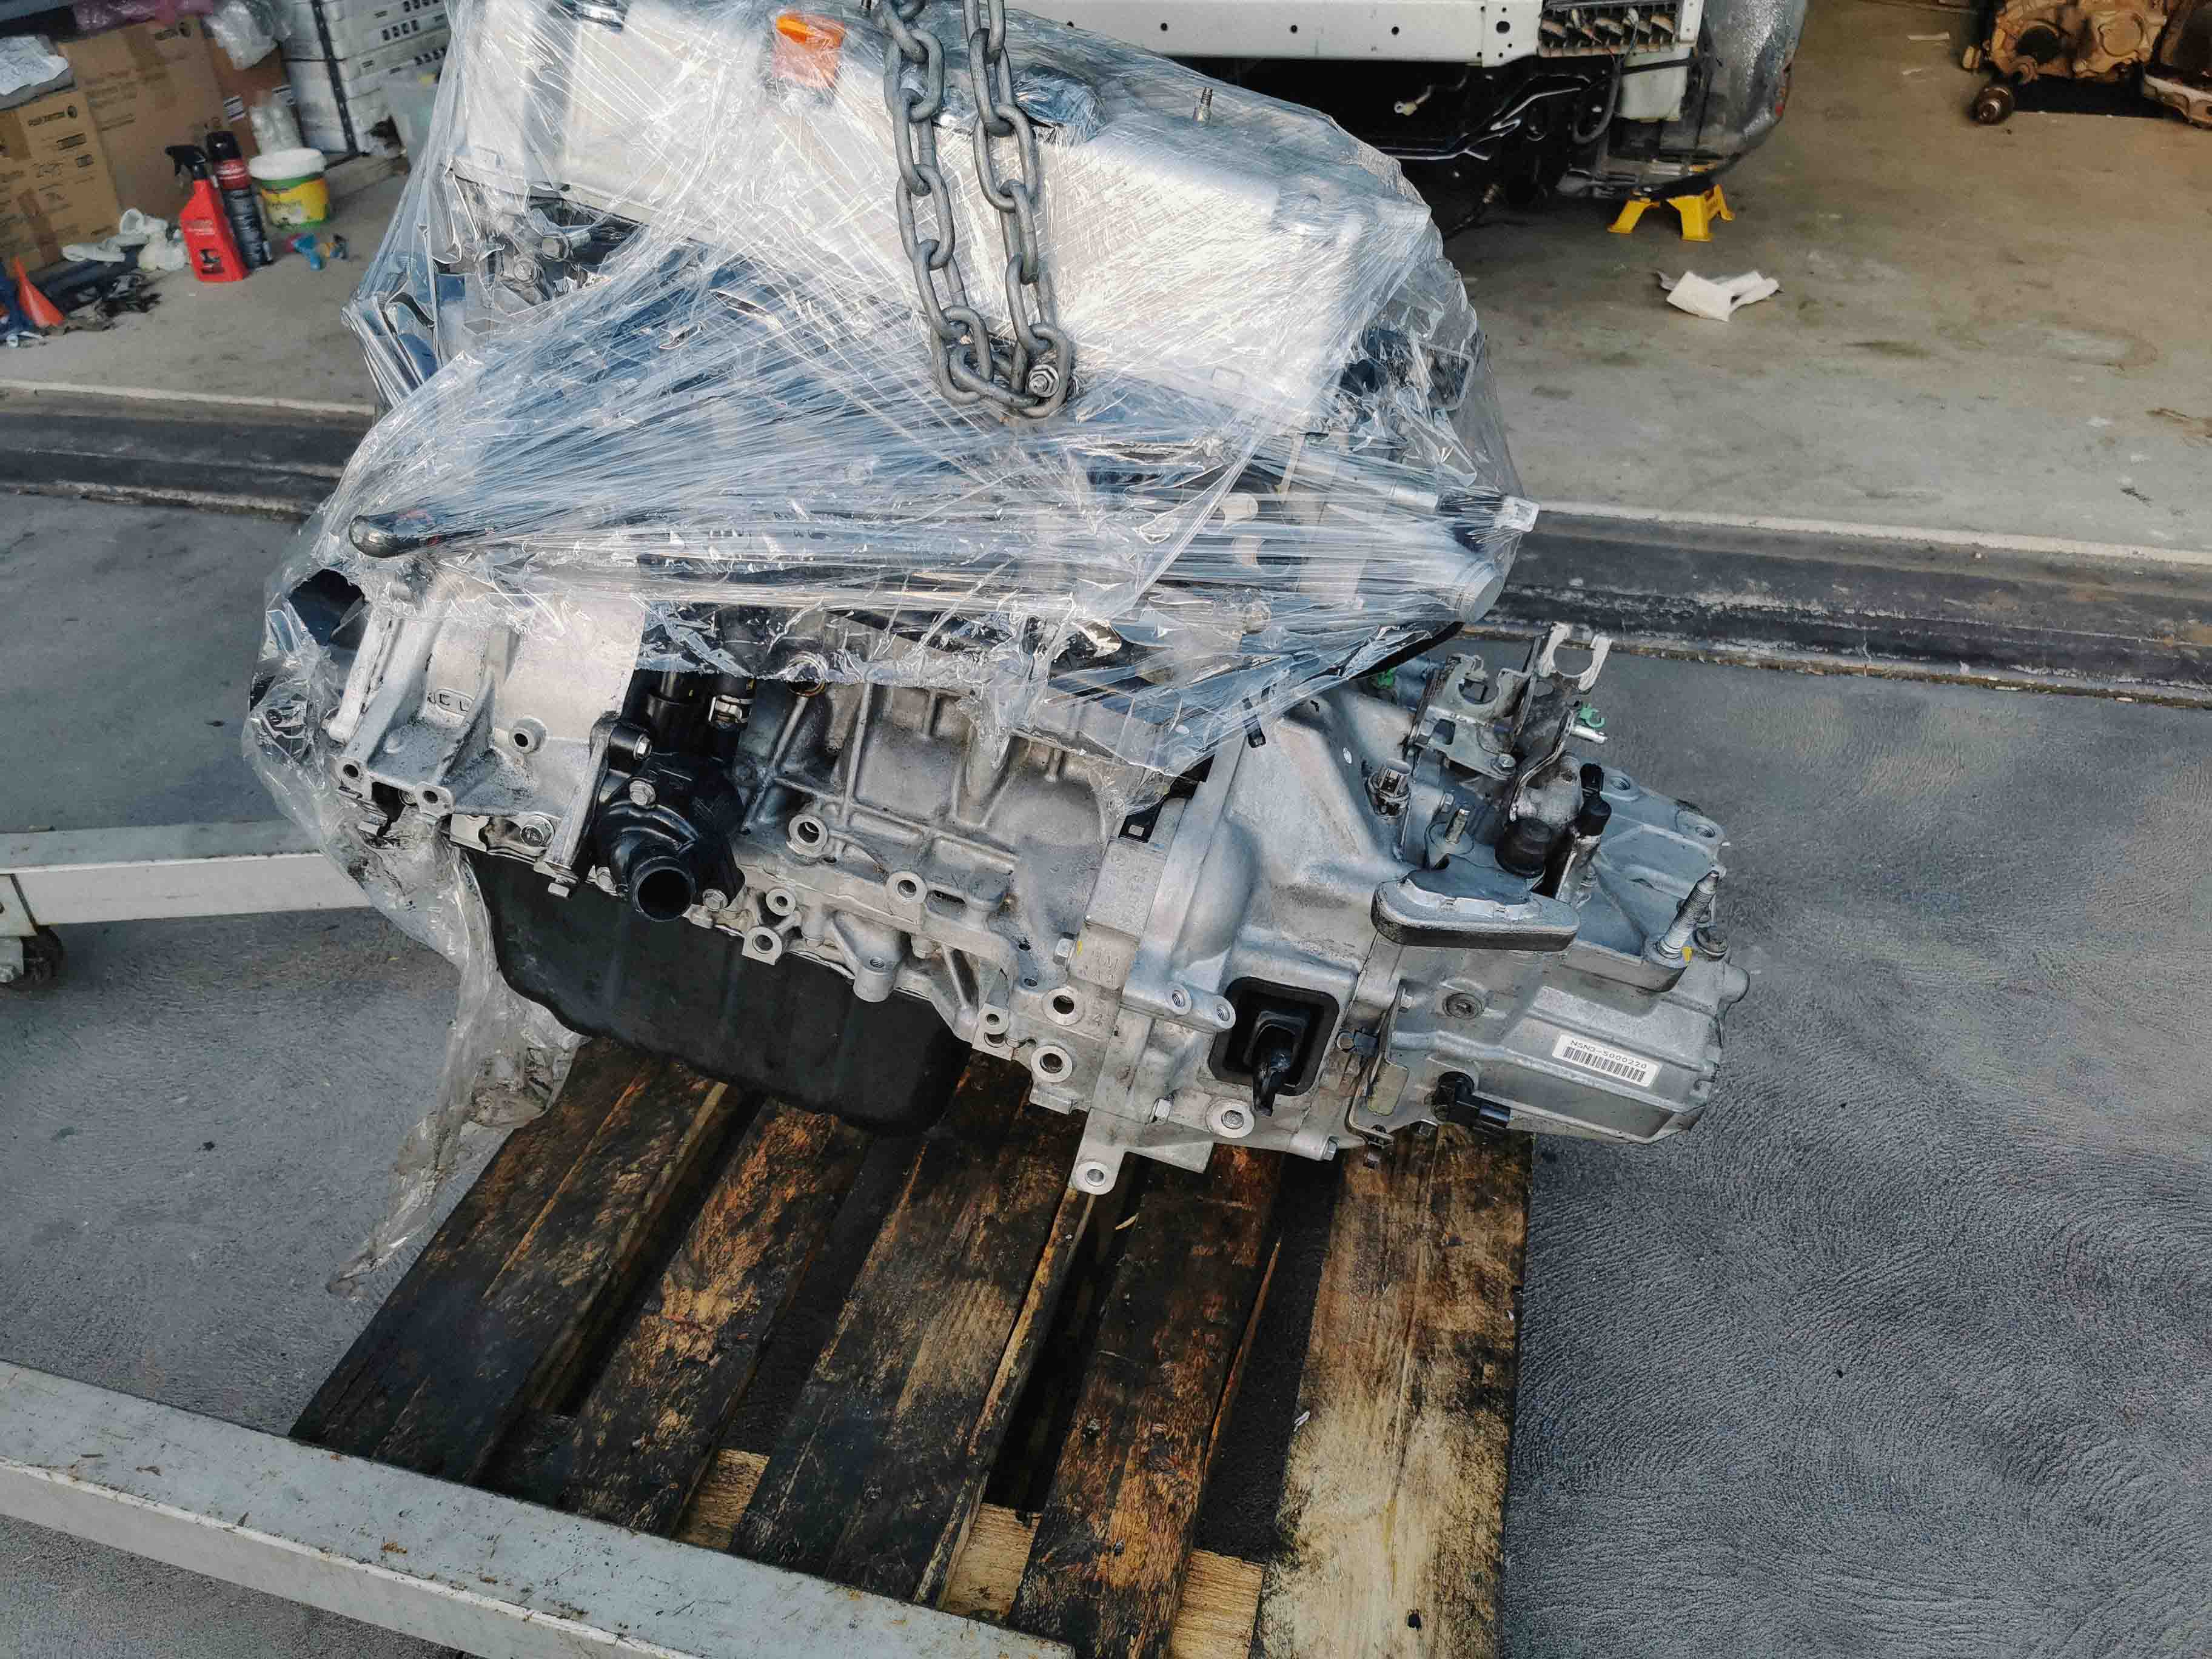
It took a bit for the last major piece of the puzzle to arrive. Once I had the gearbox at hand (NSN3, MFactory 1.5Way LSD) I needed to install the flywheel and clutch to the engine and then mount the engine to the gearbox.
The clutch was got from JDMyard and retailed for about $450 and the stock flywheel and machining set me back another $150~
Special tools required
- High Temp Grease - should come with the kit
- 12 point sockets - Flywheel and pressure plate bolts are not standard bolts
- Friends - mounting the gearbox alone would have been a pain, I utilised 3 friends LOL
- Blue Loctite - extra security for the flywheel and pressure plate bolts
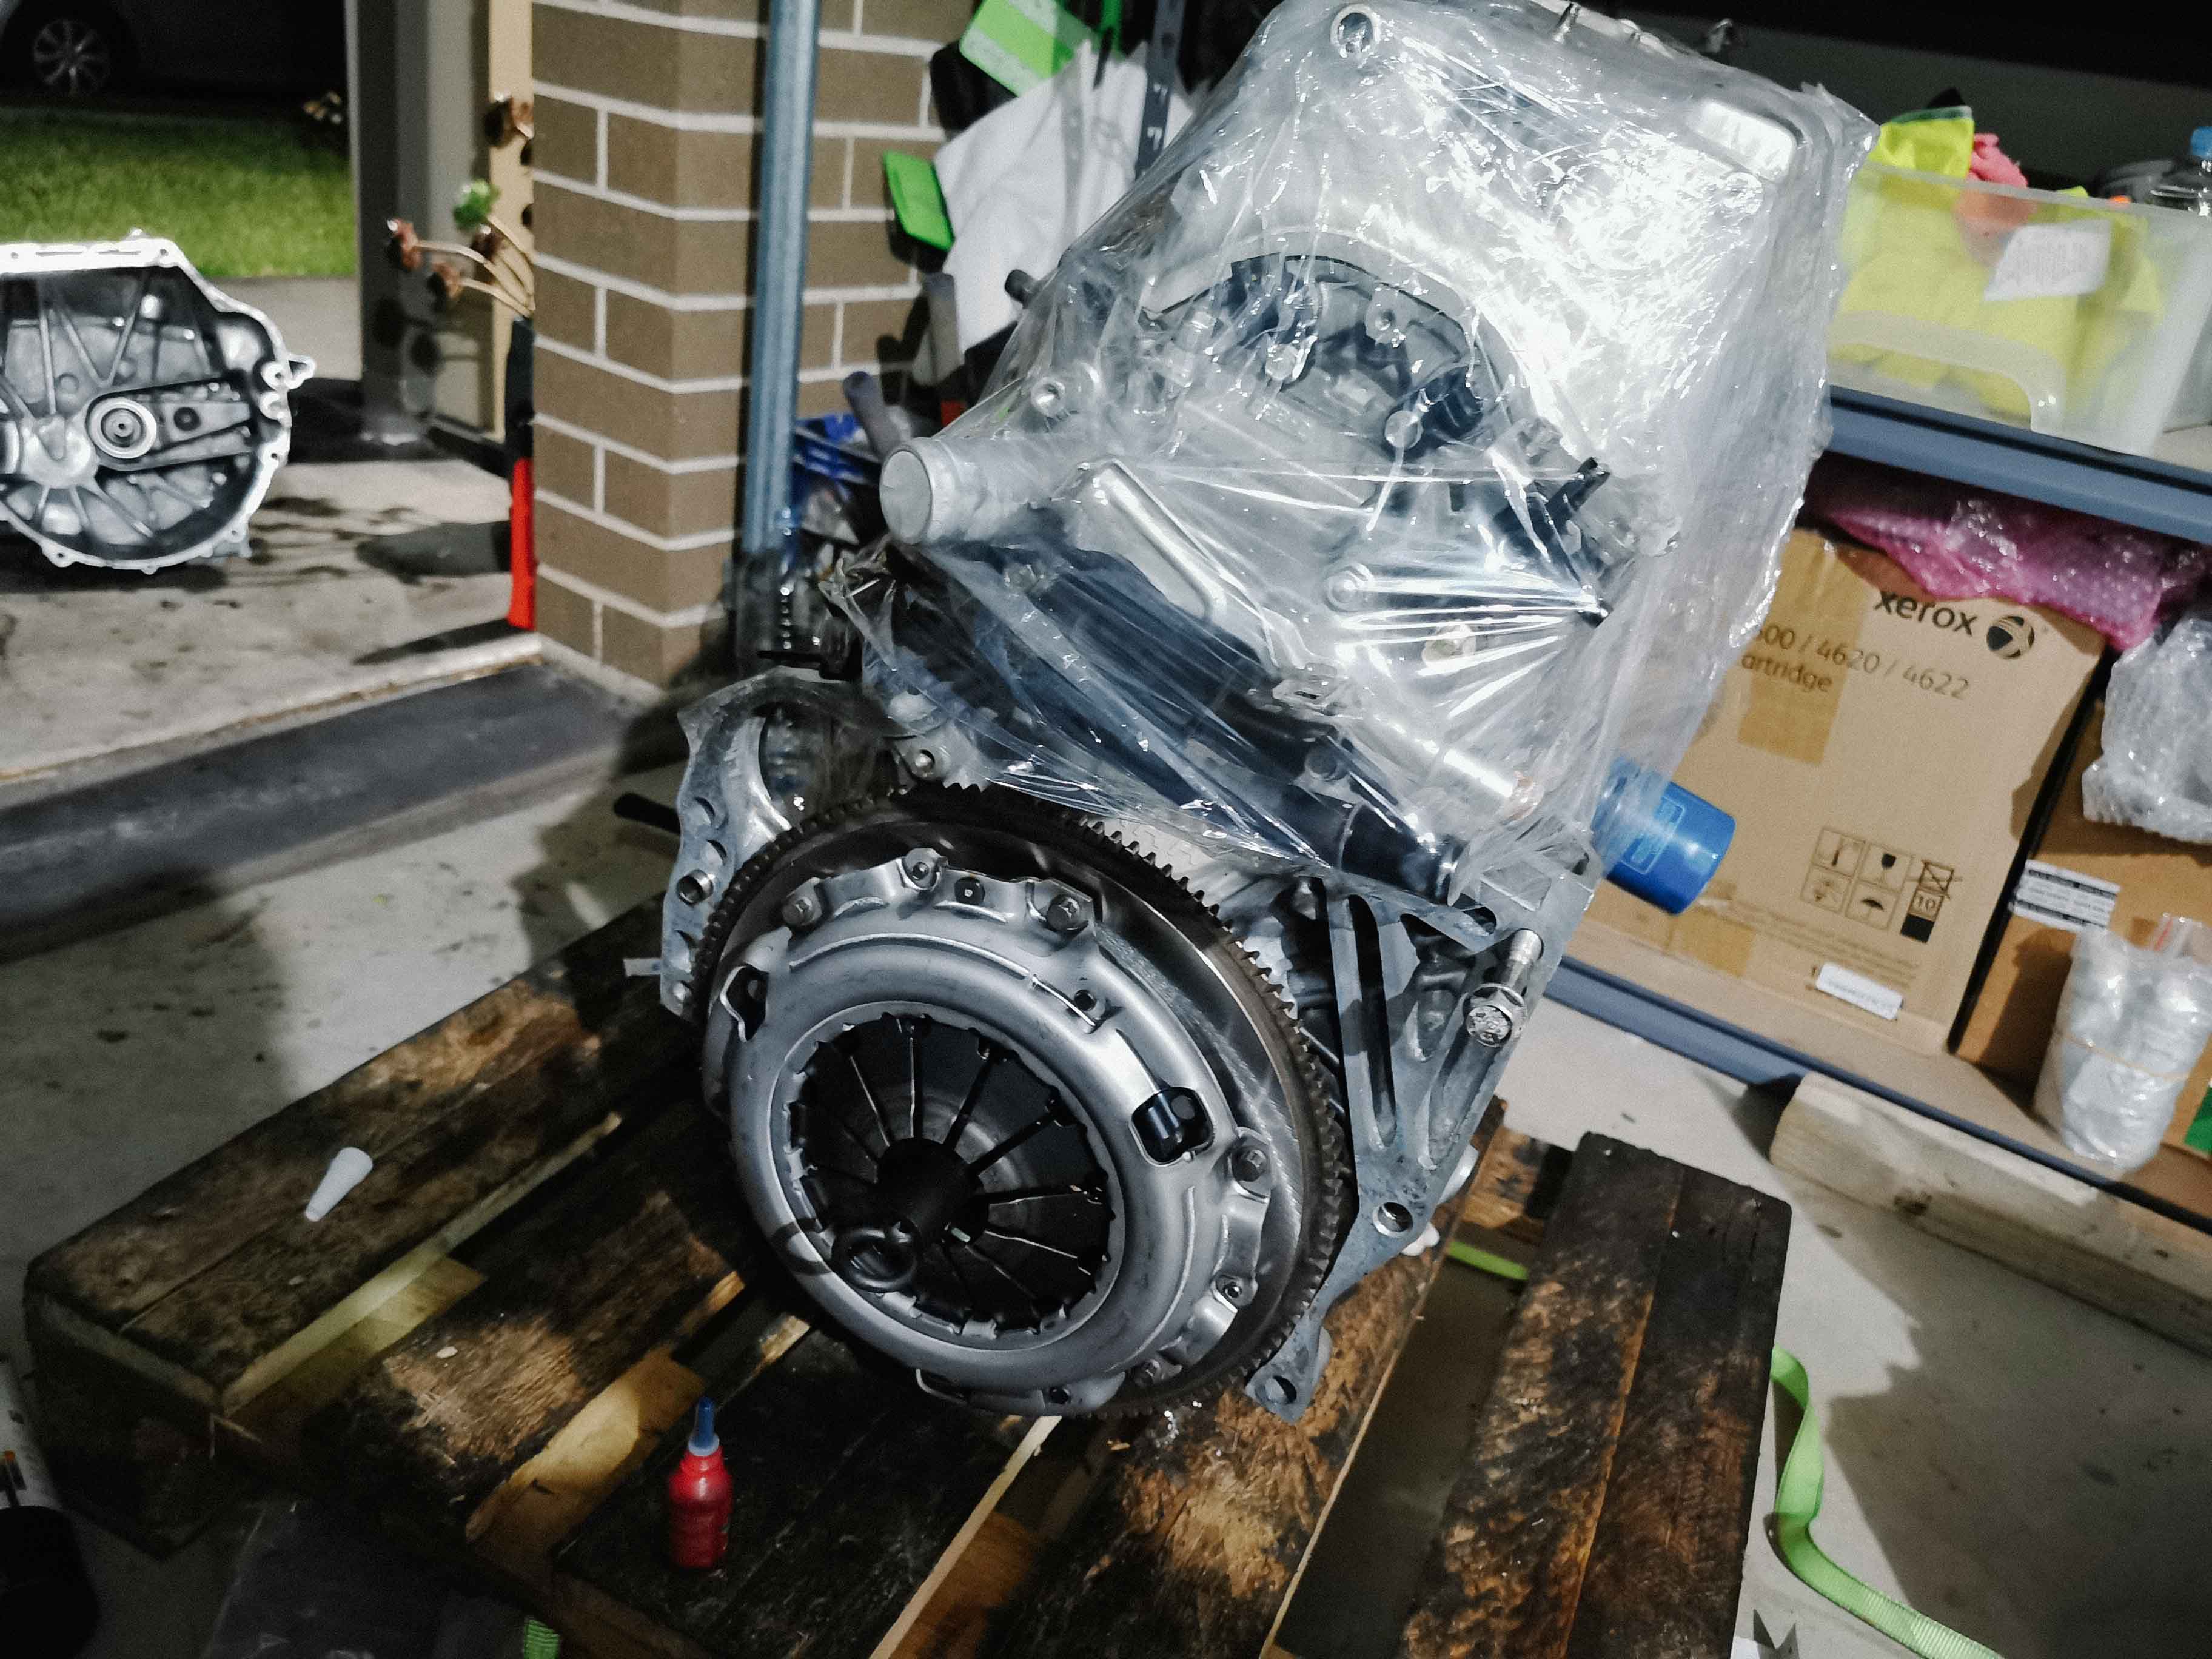
The kit came with the pilot bushing. This got installed first with some high temp grease to help it slide in and keep it lubricated.
I installed the flywheel, pressure plate and clutch using the torque specs from the Honda FSM for the DC5, but this link from Nthefastlane has the torque specs and star pattern easily accessible - that being said, the flywheel was torqued in 3 stages, 30Nm, 70Nm, 110Nm. To keep the flywheel from rotating when torquing it down hard, we stood up a chisel on the floor and wedged it vertically into one of the teeth on the flywheel, which acted as a chock of sorts.
Note: We used some Blue Loctite. There’s heaps of conjecture on the internet with many people arguing for and against any sort of thread sealant. A lot of people follow the FSM and just torque to spec, other madlads use Red Loctite and rattle it on. I opted for a happy medium, unlike Red, the Blue Loctite does not require heat to remove and is just an extra security of sorts.
I didn’t take too many pictures during the gearbox install as it was getting late and it was a pretty hard task because the thing weighed about 50kg, and I almost threw my back out aligning the dowels and spline on the box to the motor.
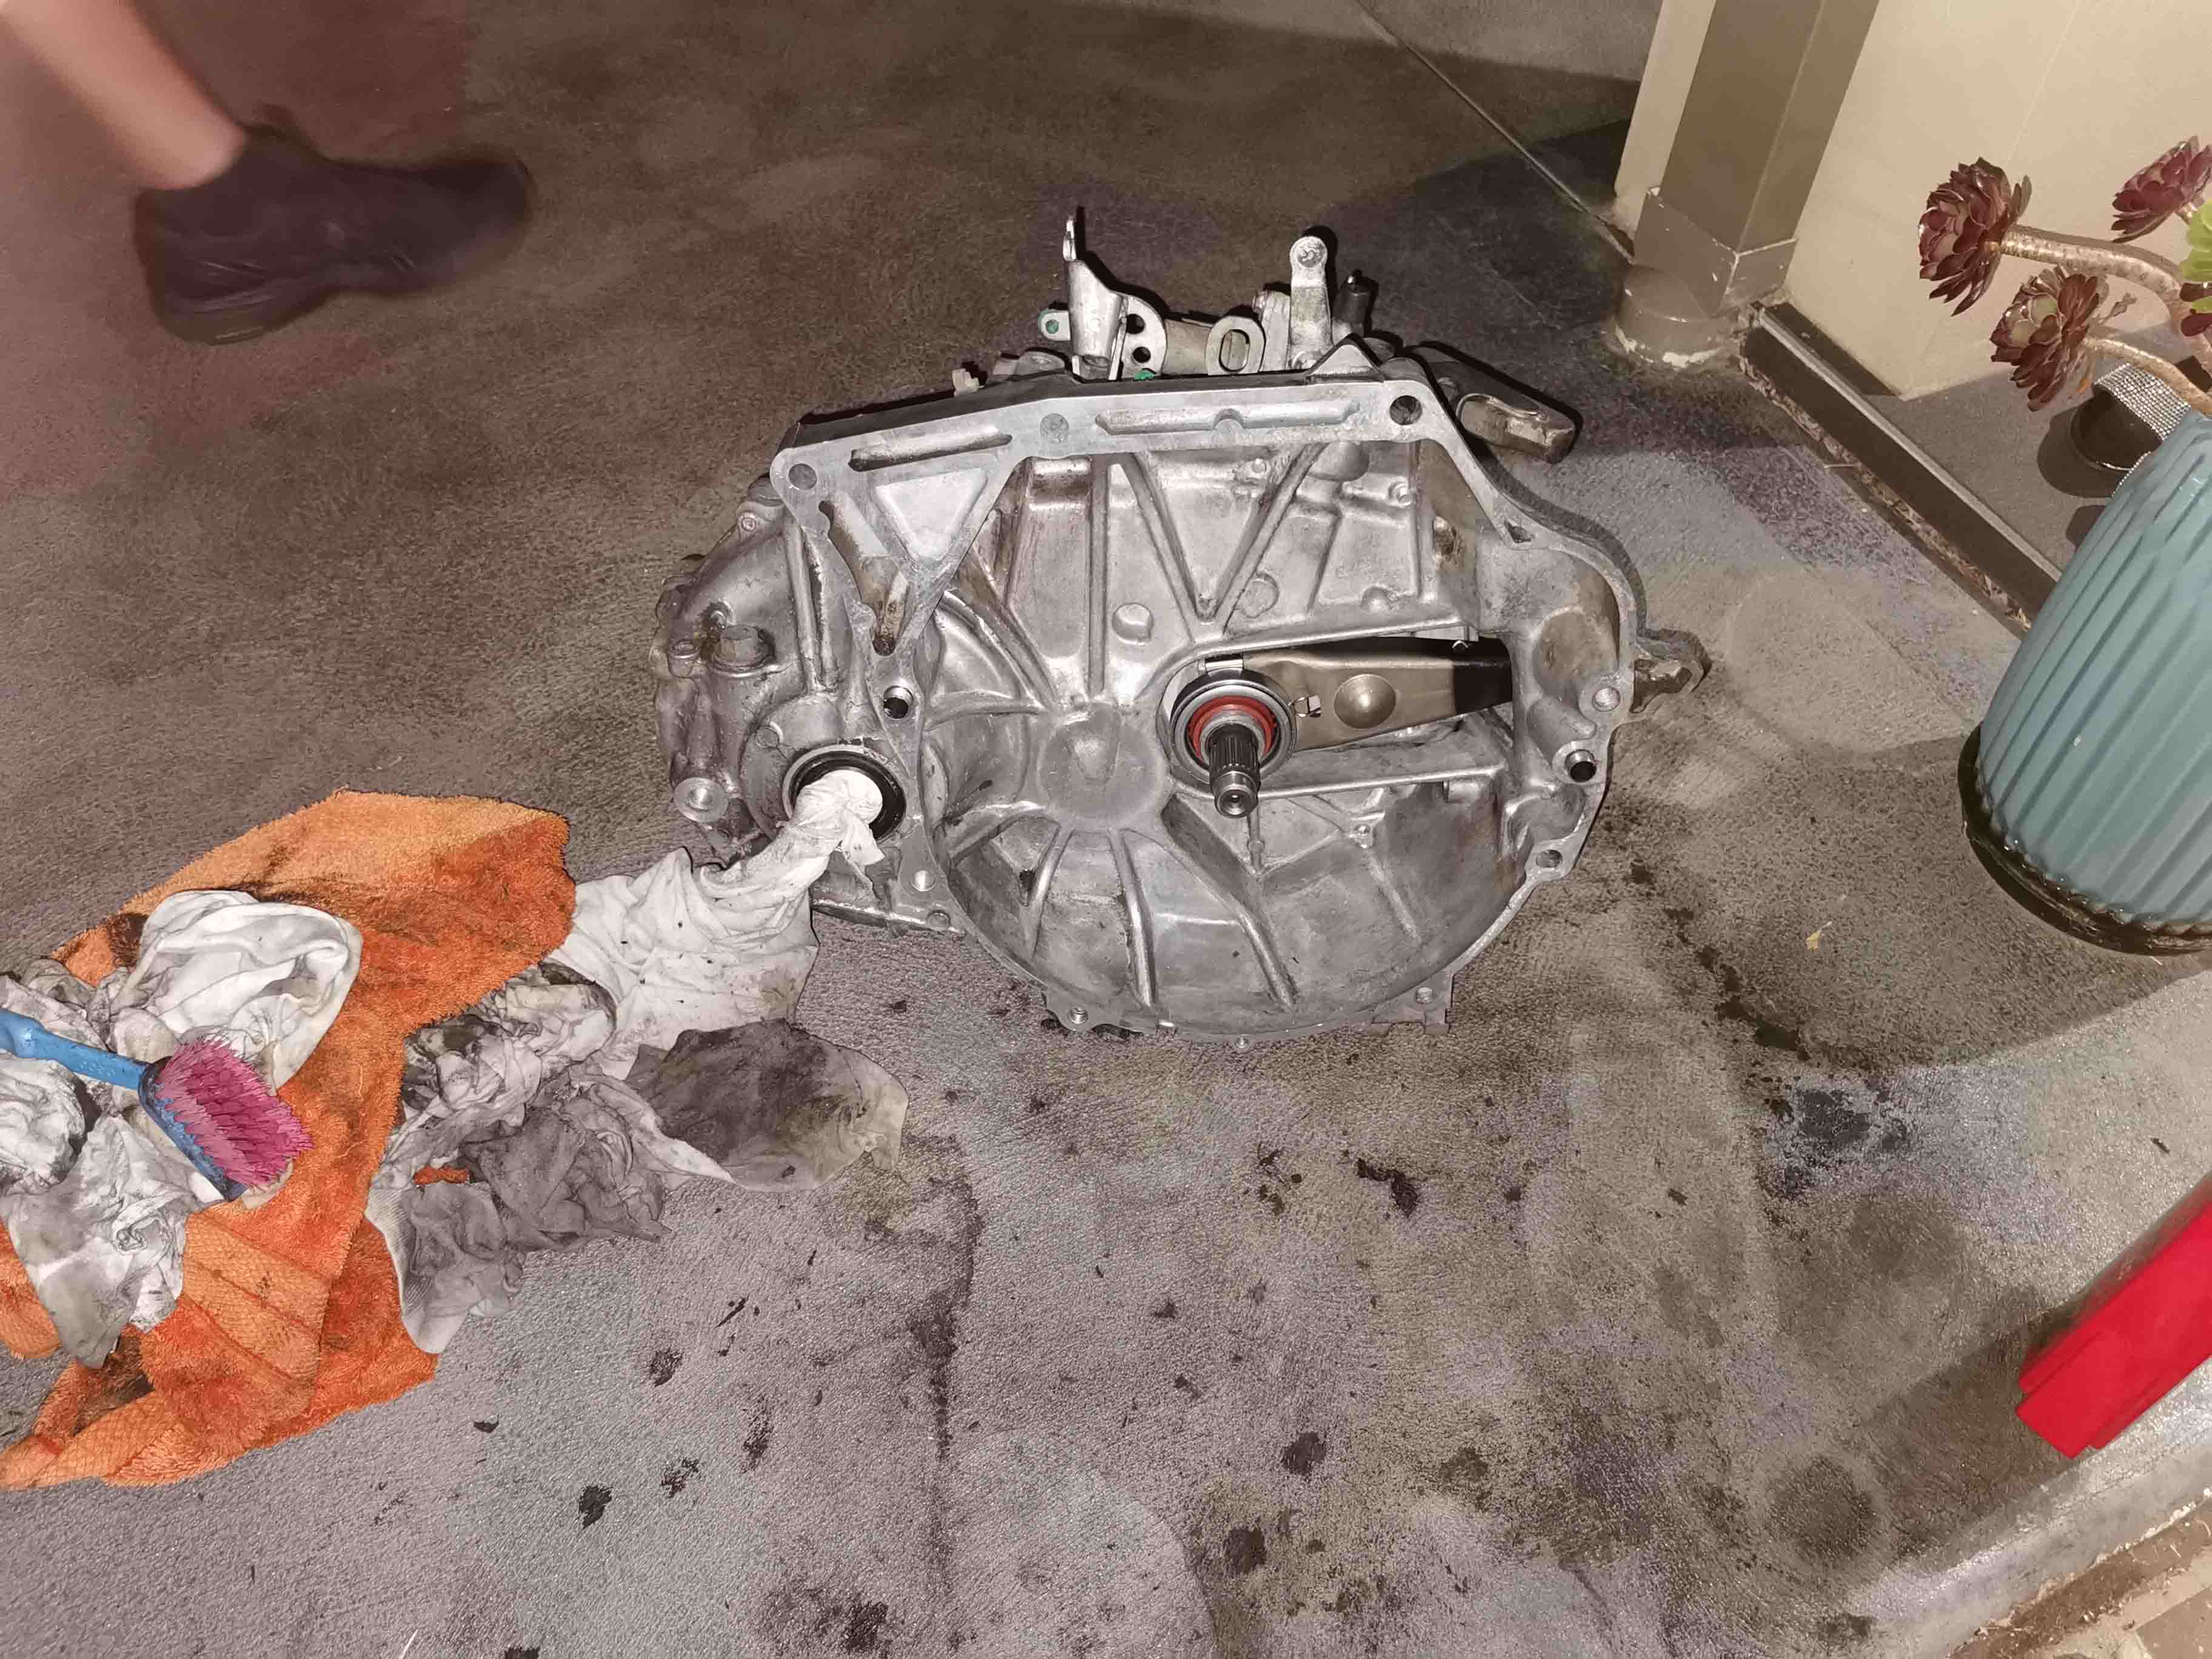
- First wash out any dirt on the gearbox, inside and out
- Lube up all the contact points on the throwout bearing, release fork and pivot ball. This lubricates for smooth pedal feel, reduce wears and tear and silences grinding noises during high speed rotational movement
- Lube up the spline on the box and the ridges on the bearing as well
- Mount the throwout bearing on the fork, and install the pivot ball prong on the fork also
- Pop the fork on top of the pivot ball, test that it goes up and down the spline without any issues, panic if it does?
- Mount the transmission to the engine
It was a bit of a struggle to get the box mounted to the engine, we put the tranny on a floor jack and the engine on a pallet to help line it up. This task is made easier if you have the metal dowels on your engine or gearbox. Do note that the gearbox mounts onto the engine at an angle. Also, the bolts are of different length. Once you mount the box on with the dowels, use a scrwedriver as a depth feeler to figure out which bolts go where.
The next morning (14th), Ash and I gave the whole block and tranny a washdown with degreaser, steel wool and some APC to get all the grime off.